Google Redwood City - Topographic Map
Dec 2017 - November 2018
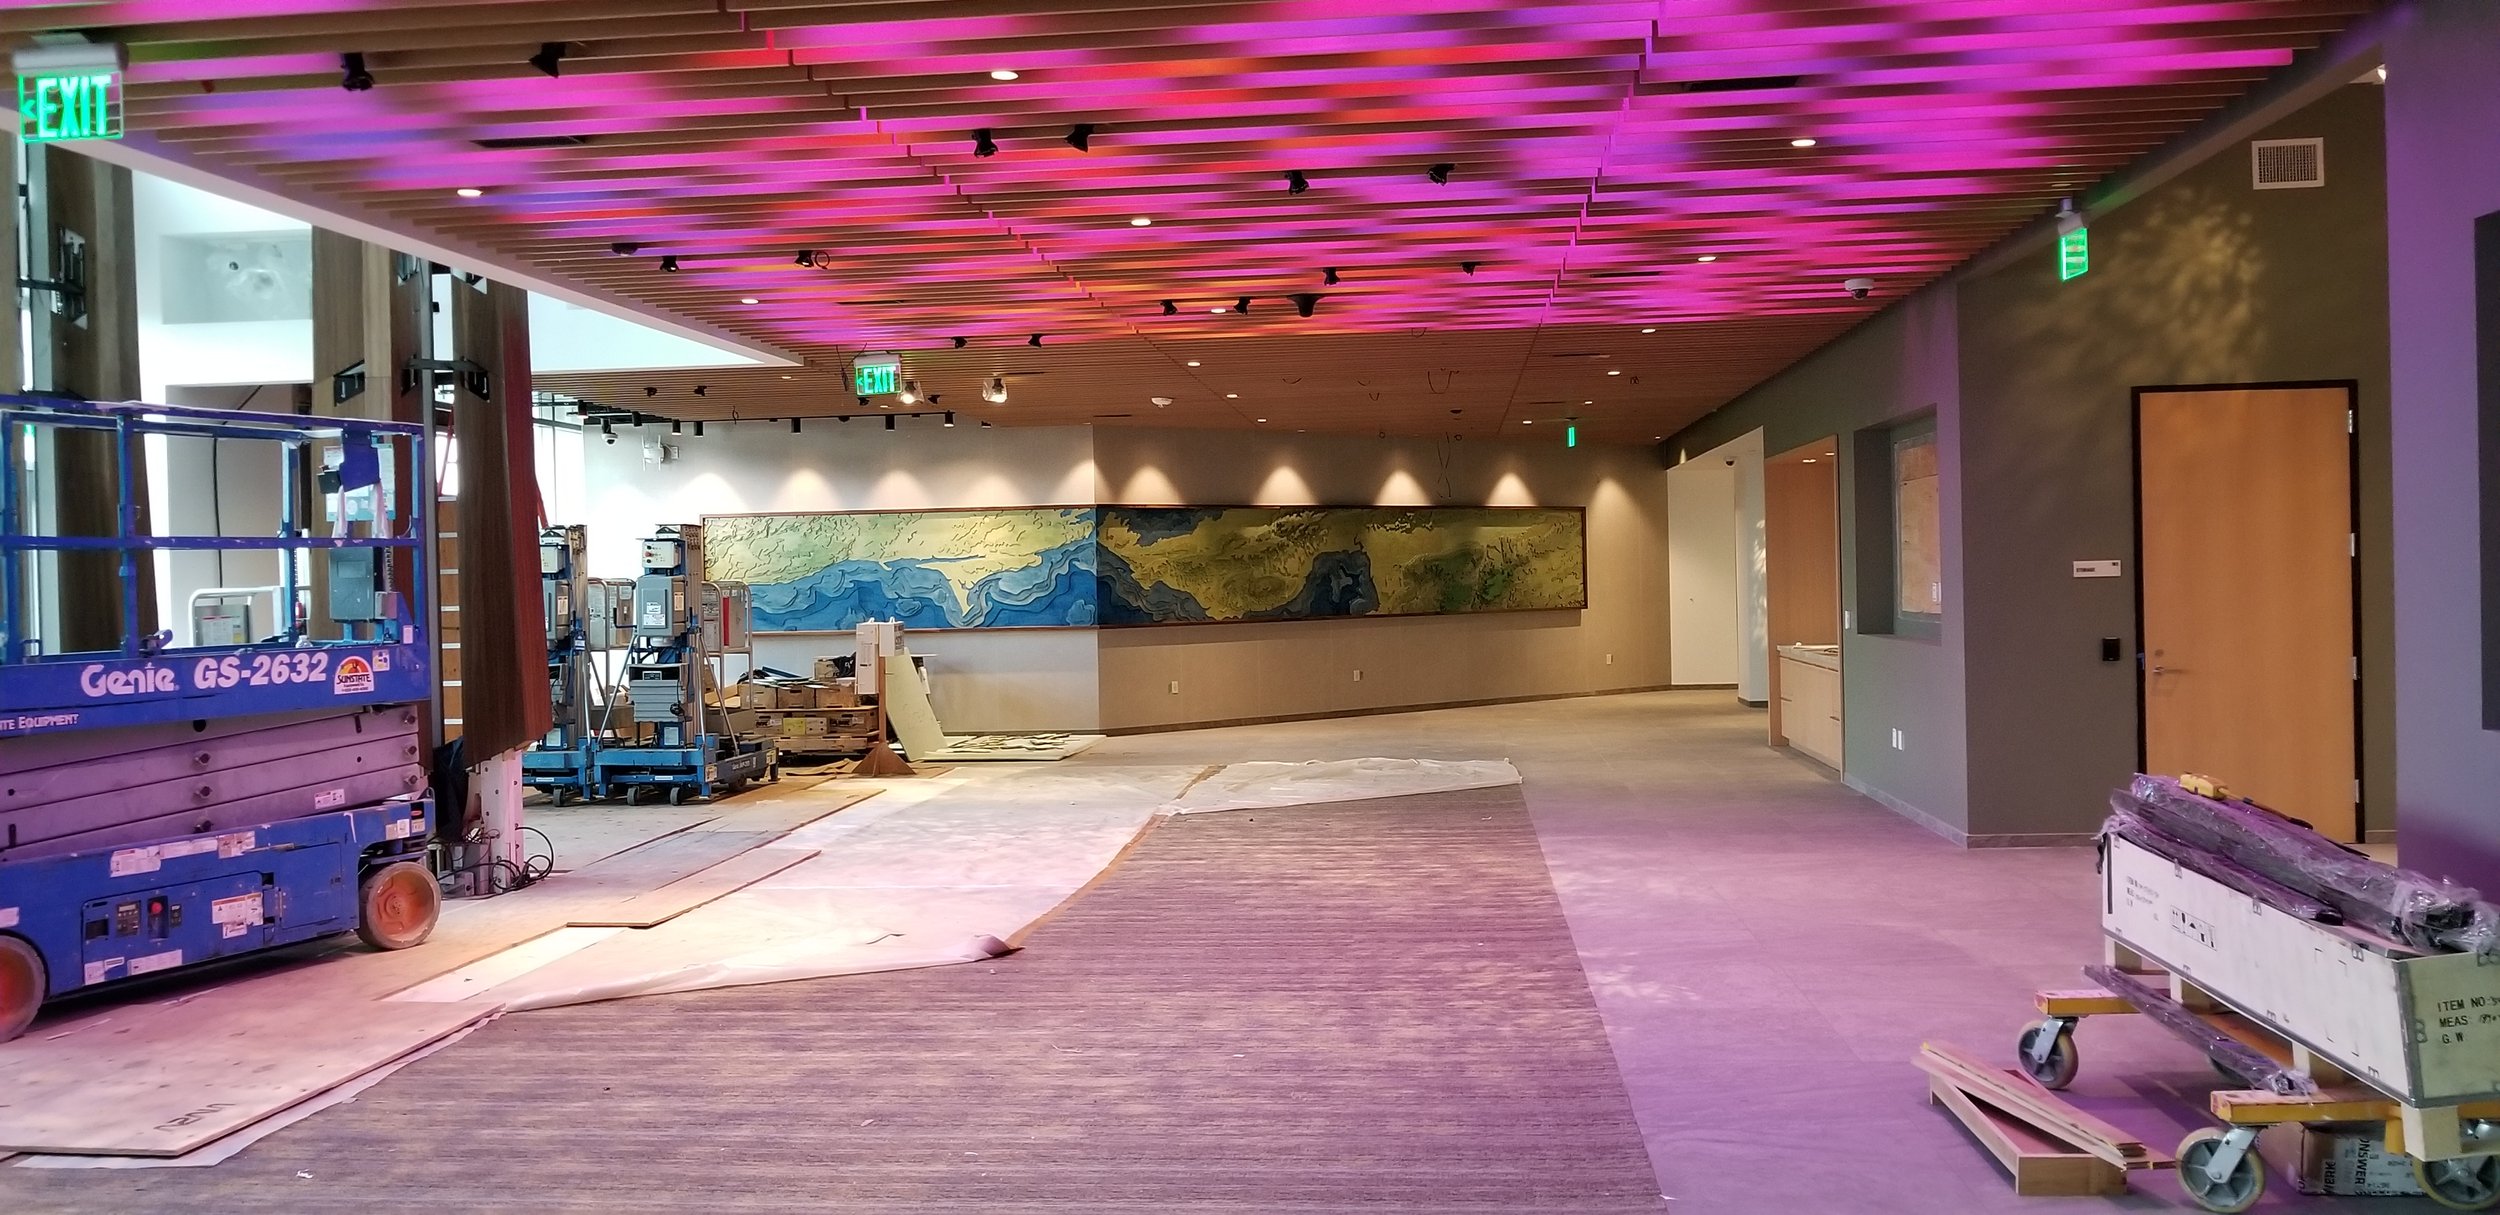
This project was created for the Google ‘Grove Experience Center’ in Redwood City, California.
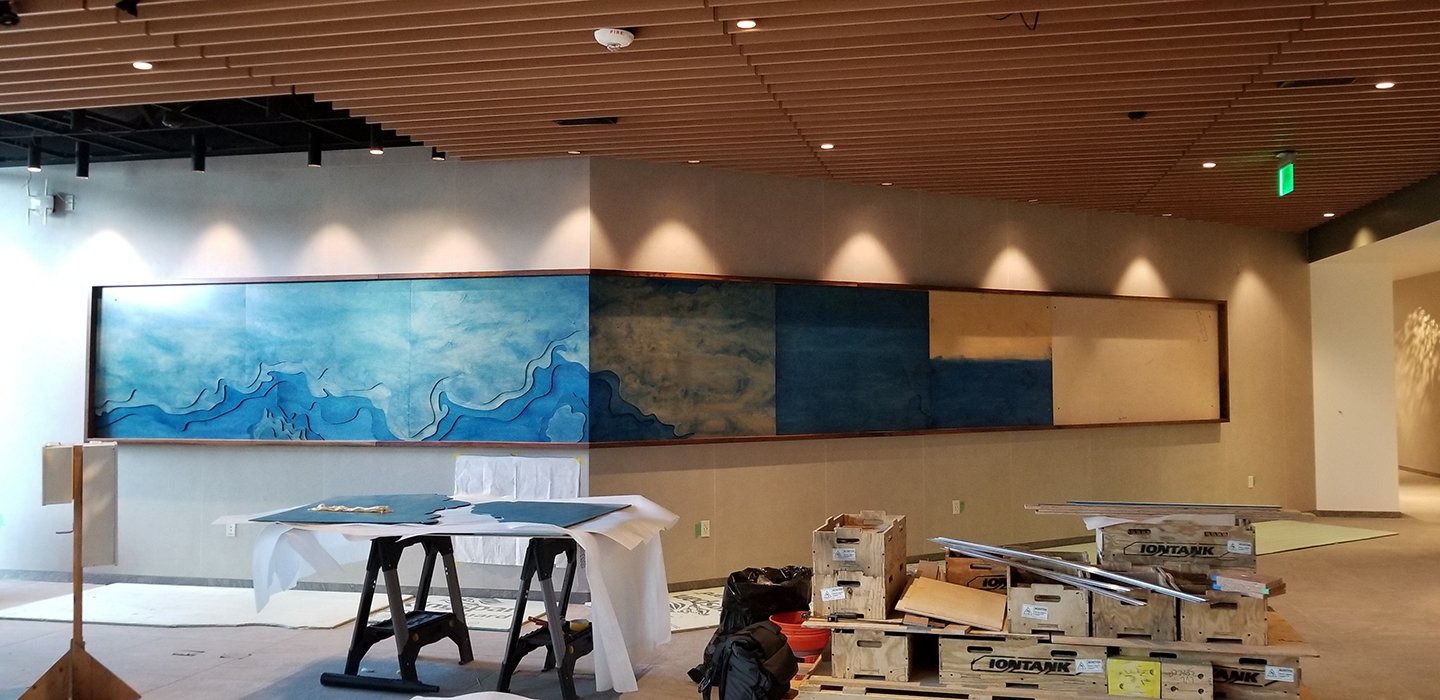
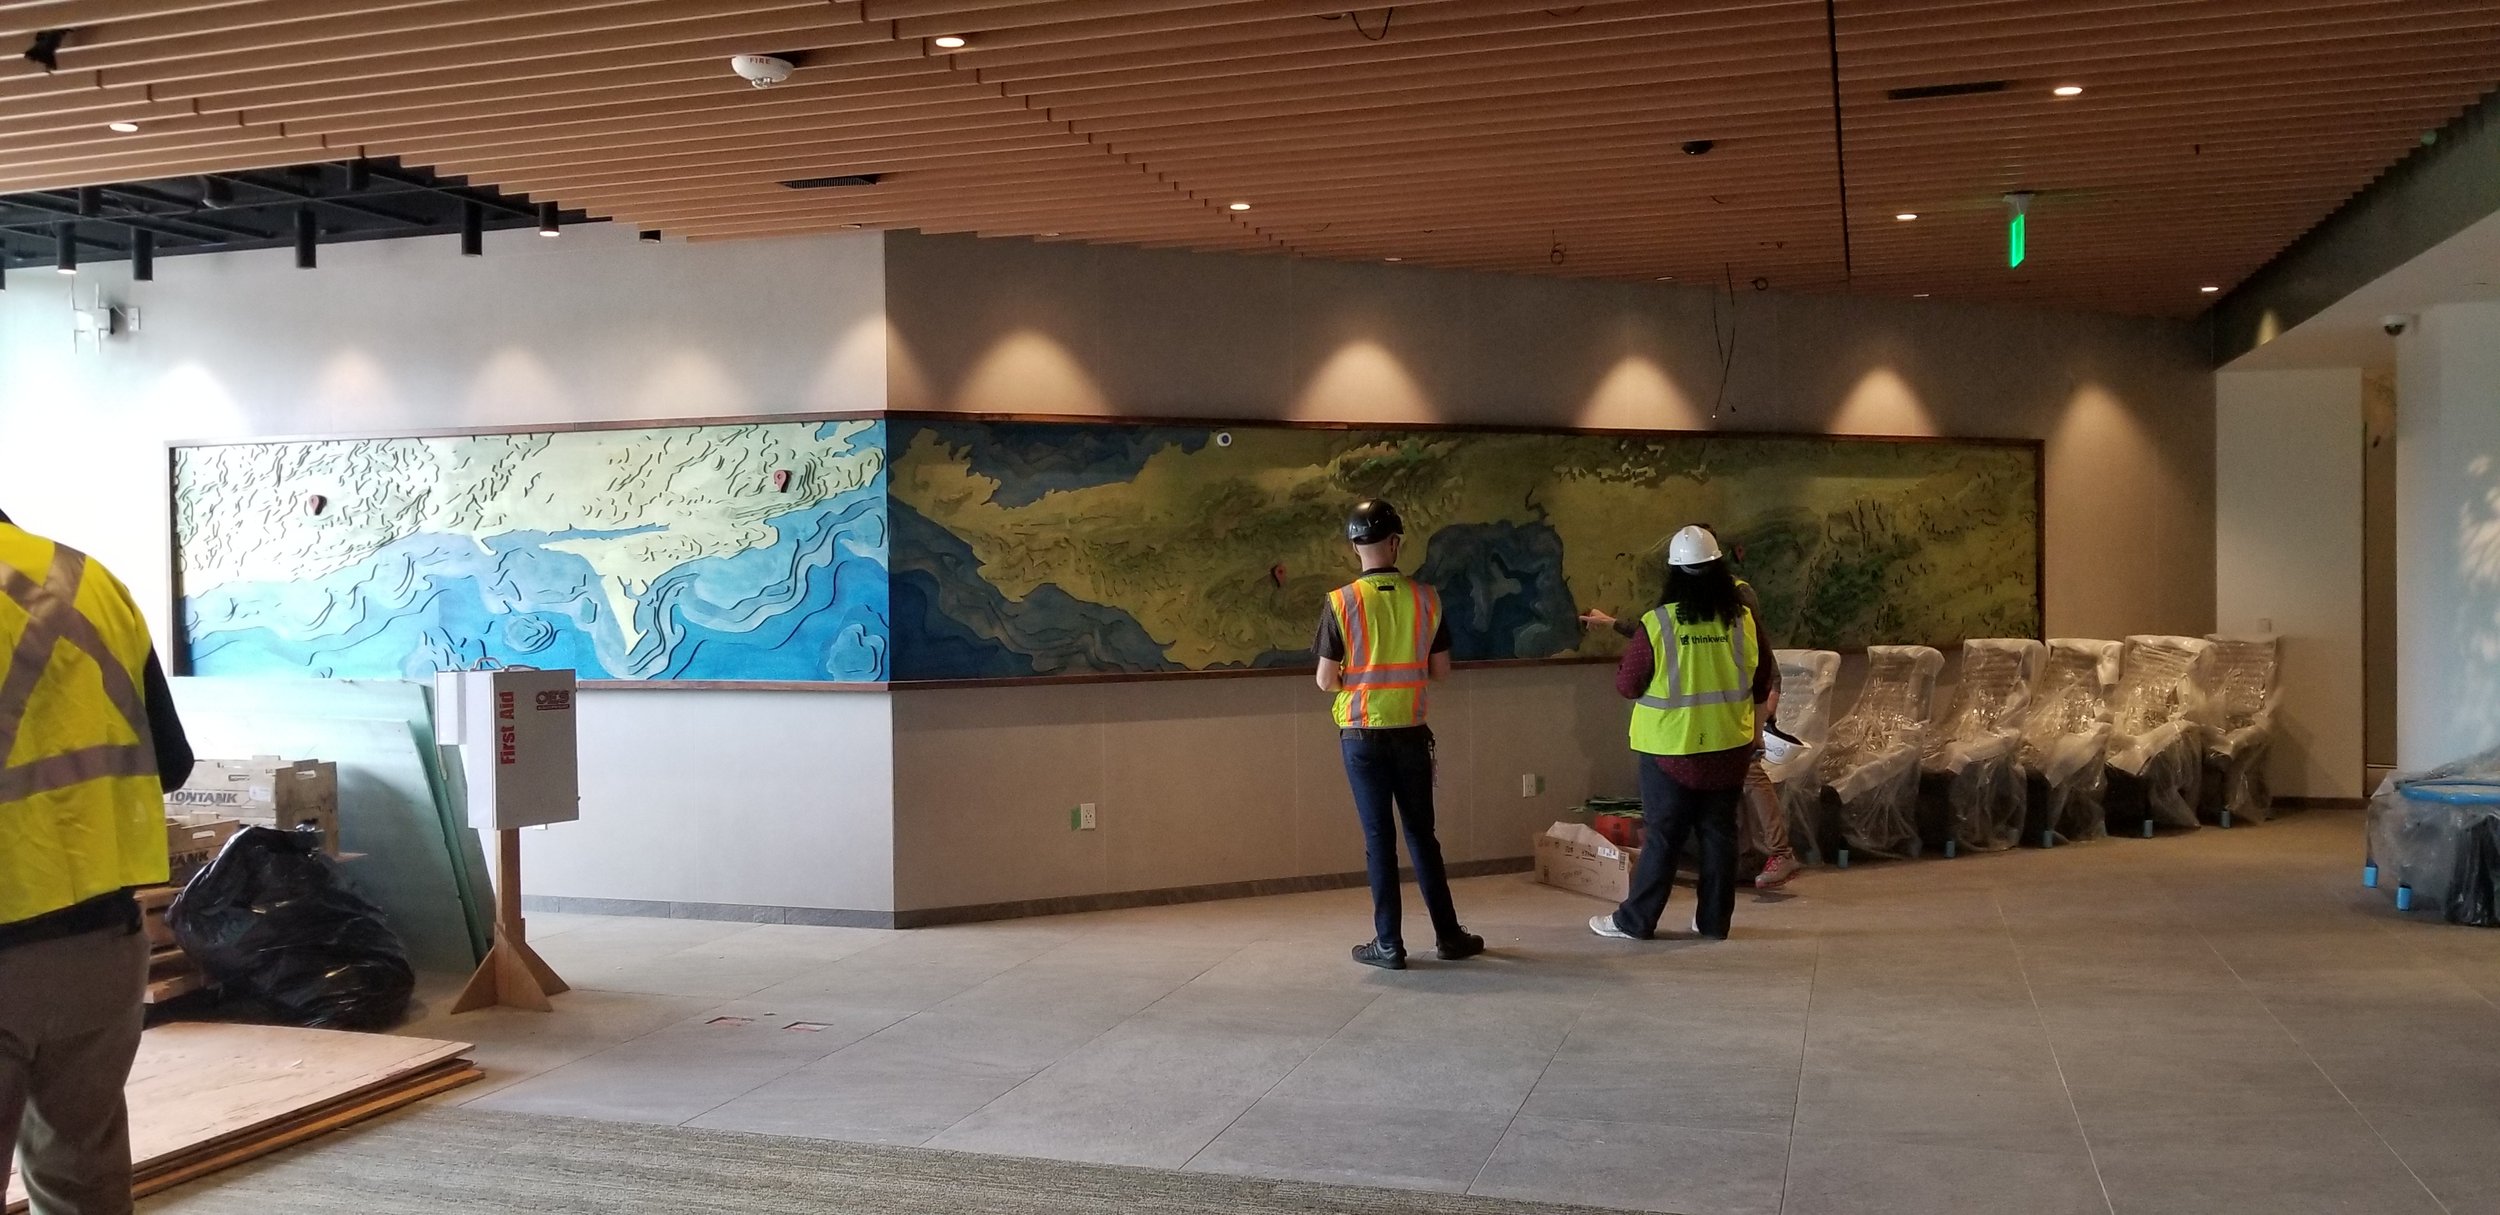
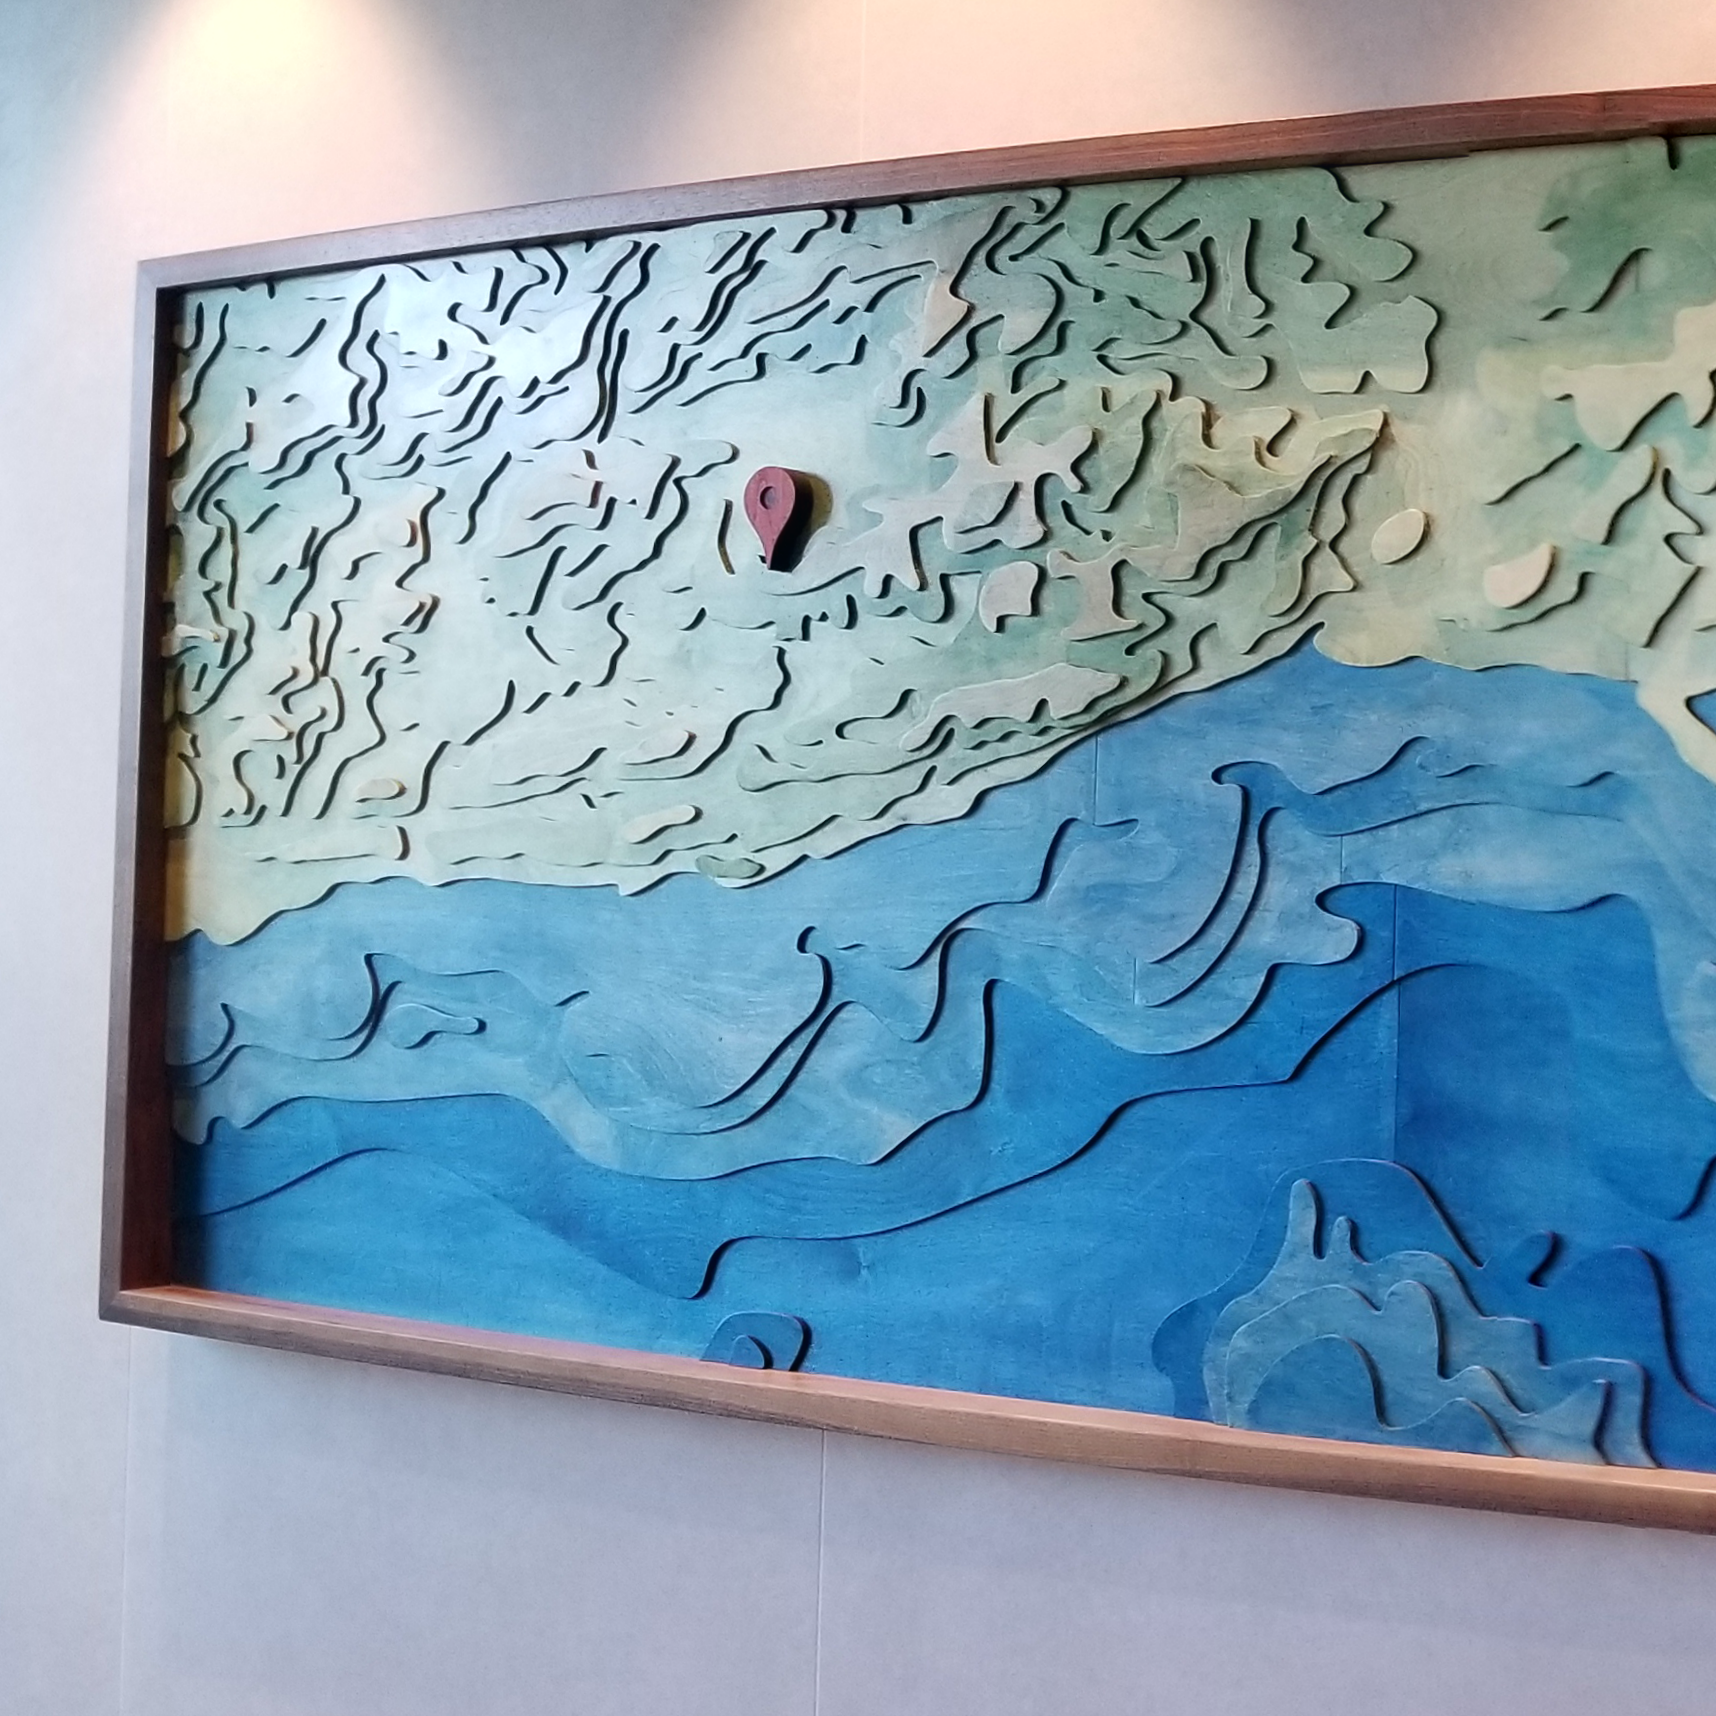
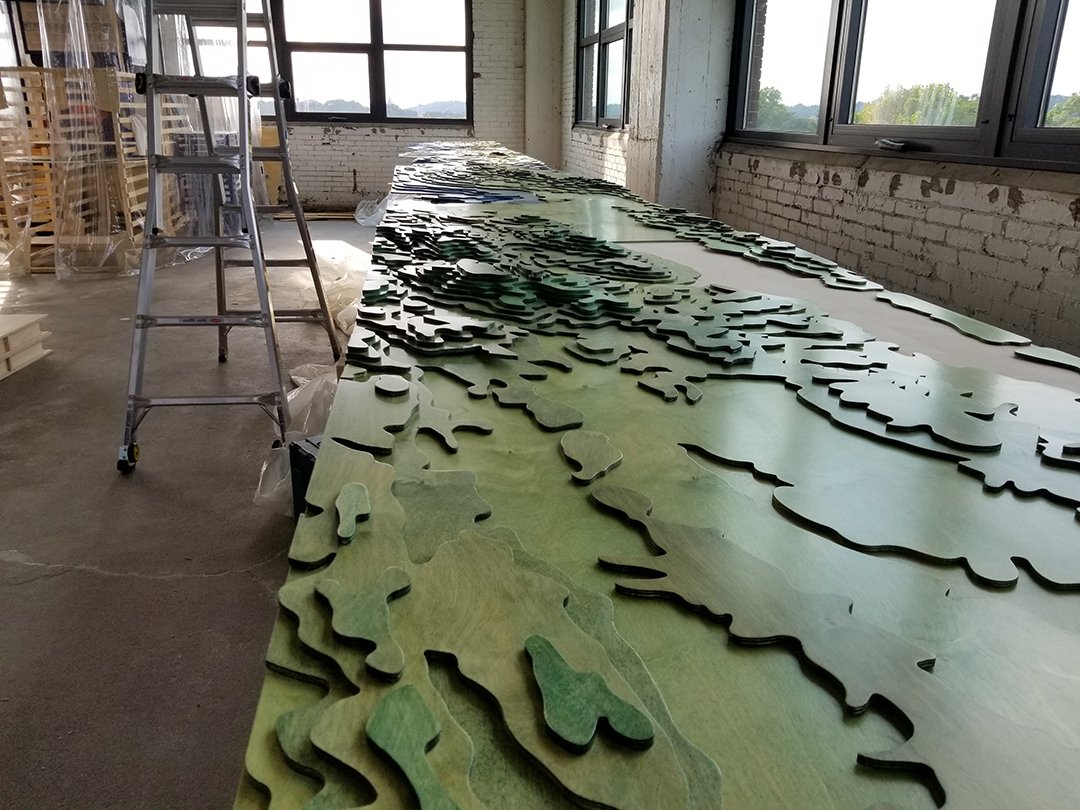
This wall hanging sculpture depicts a topographic elevation map of the California coastline running north to south, centered on the San Francisco Bay. The client requested that the piece initially appear to viewers as an abstract wall adornment. To this end, the artwork was laid out horizontally, and functional markings such as roadways and political boundaries were omitted. One of the most striking features of this piece is that it wraps around a ~30 degree corner while appearing seamless. This work was fabricated and installed along with many other pieces including the ‘Redwood City Grove’ project.


These reference documents including all mechanical drawings were created by me at the conclusion of the project to provide both internal and client-facing documentation for the components and the assembly process.
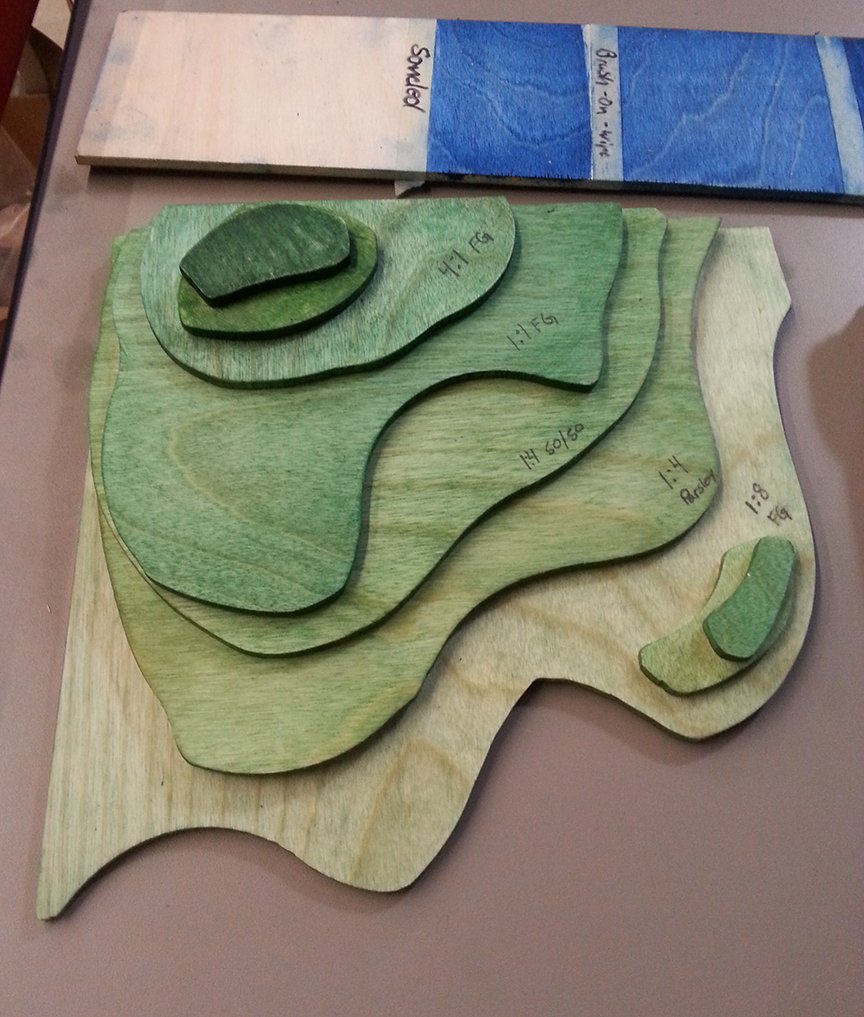


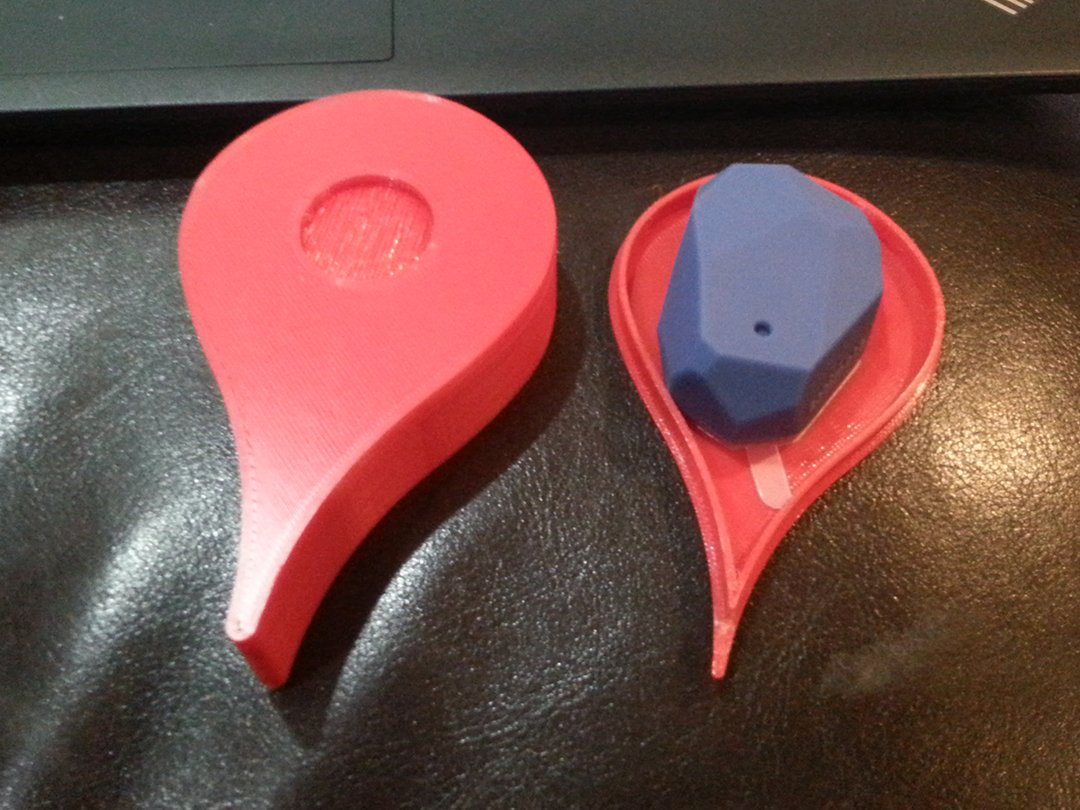
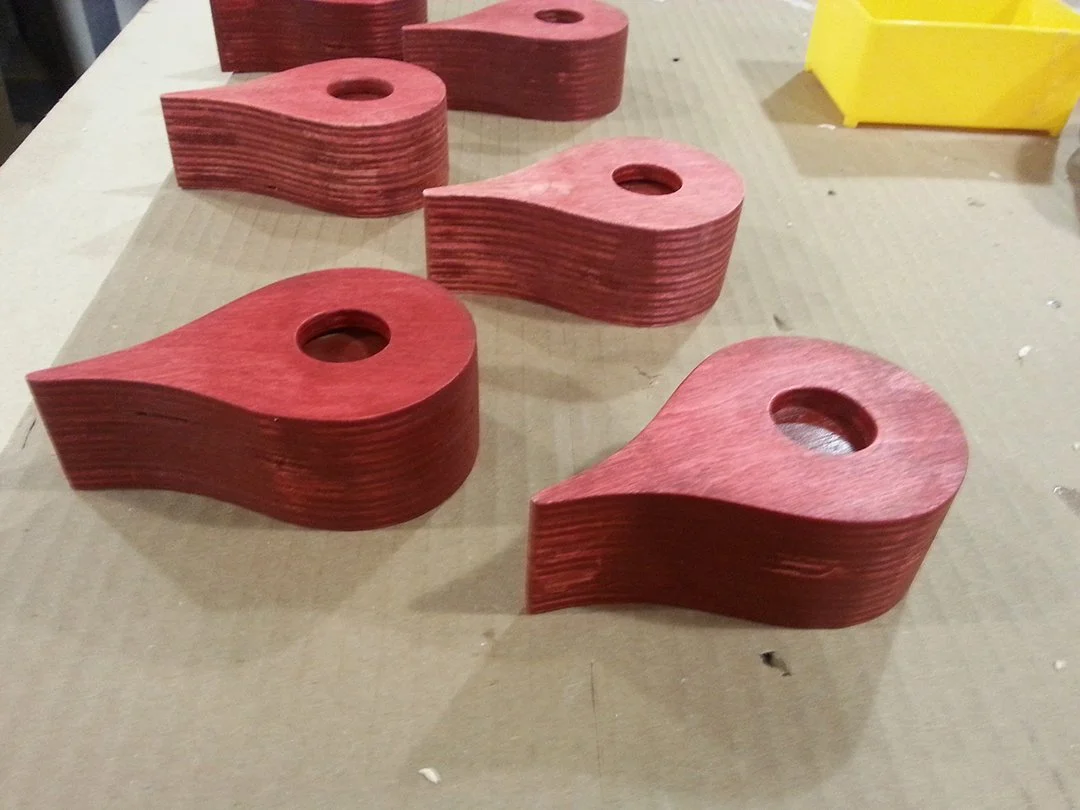
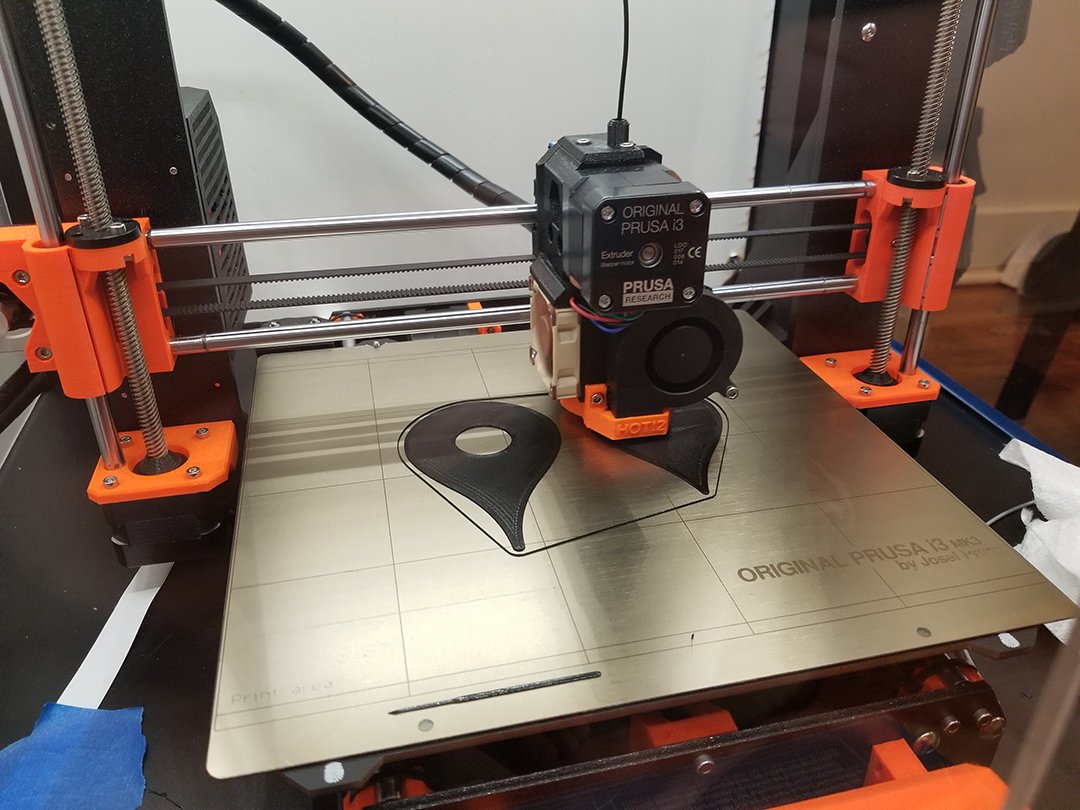
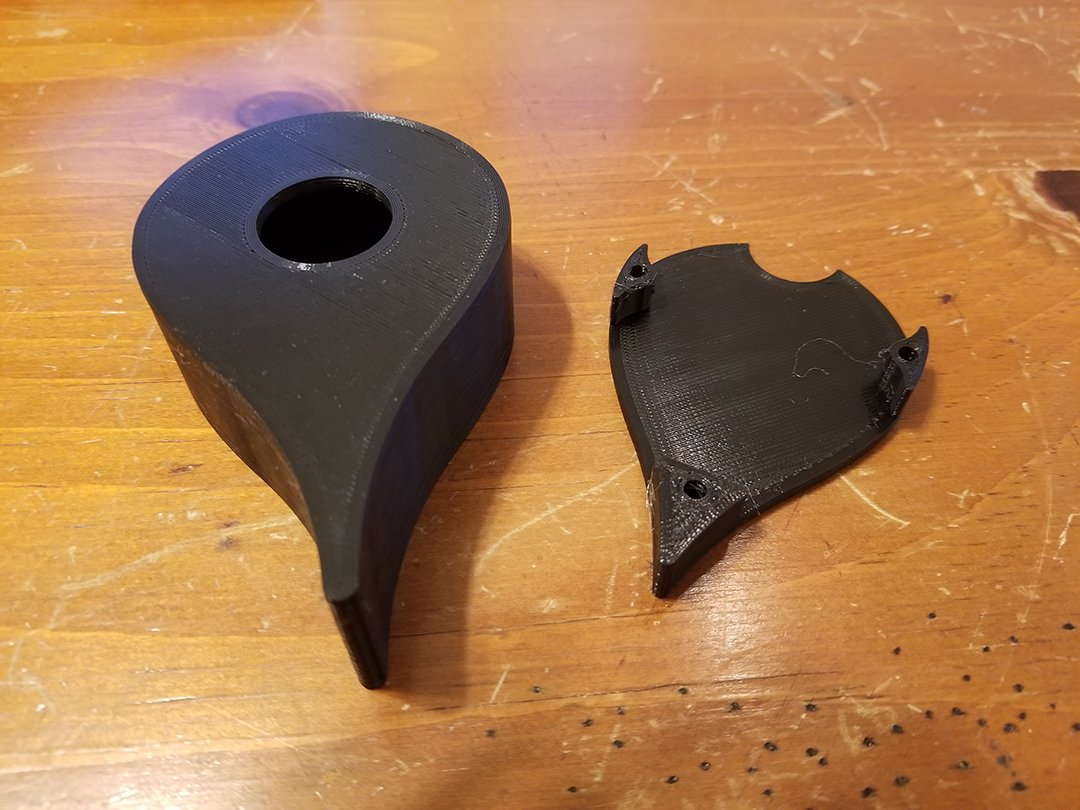
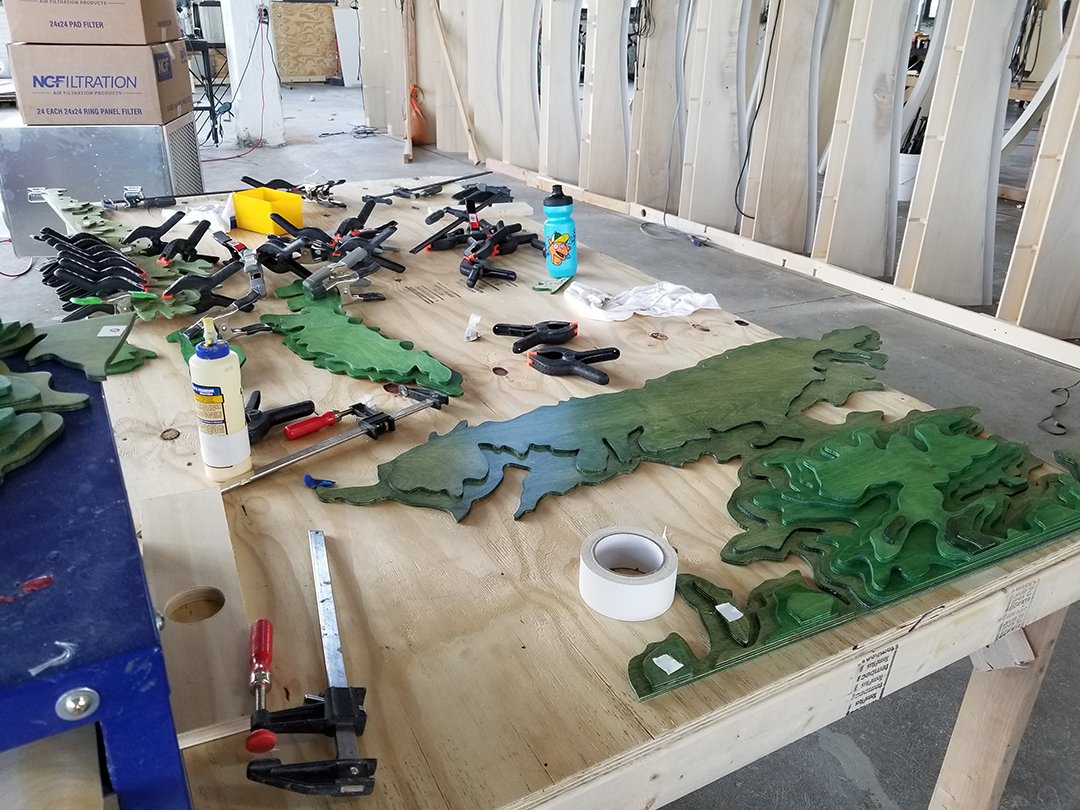
Fabrication for this project took place over the 2018 calendar year. Initial assembly took place in the Iontank studio in Pittsburgh, PA. The project began with prototypes, small scale mock-ups to ascertain weather or not we had the capability of achieving some of the project goals of the client. Including meeting a strict color consistency over a large area.
One factor complicating this build was that the space in which the Topographic map would be permanently installed was still under construction while fabrication took place, so it was not possible for us to plan around final measurements, all elements would need to be adjusted on-site for a clean install.
We were provided with elevation data of the California coastline from Google, similar to those sourced from the Maps application. This was then refined into a series of layers that would be visually appealing, and reasonably close to functional topographic depictions (like those of the National Geographic Survey). Those layers were then further divided so they could be cut on commercially available plywood by a CNC Router.
I was responsible for creating tool paths that would instruct the CNC router to create what would become hundreds and hundreds of pieces of organically shaped amorphous plywood which would further be assembled into the face of the artwork.
A combination of Rhinoceros 3D (sometimes called Rhino), and Fusion 360 were used for CAD and CAM on this project.
Indexing was critical, although straightforwards this project was a logistical challenge in handling many pieces any inefficiencies in each step would greatly slow down the process and could interfere with other concurrent projects that required the attention of the team.
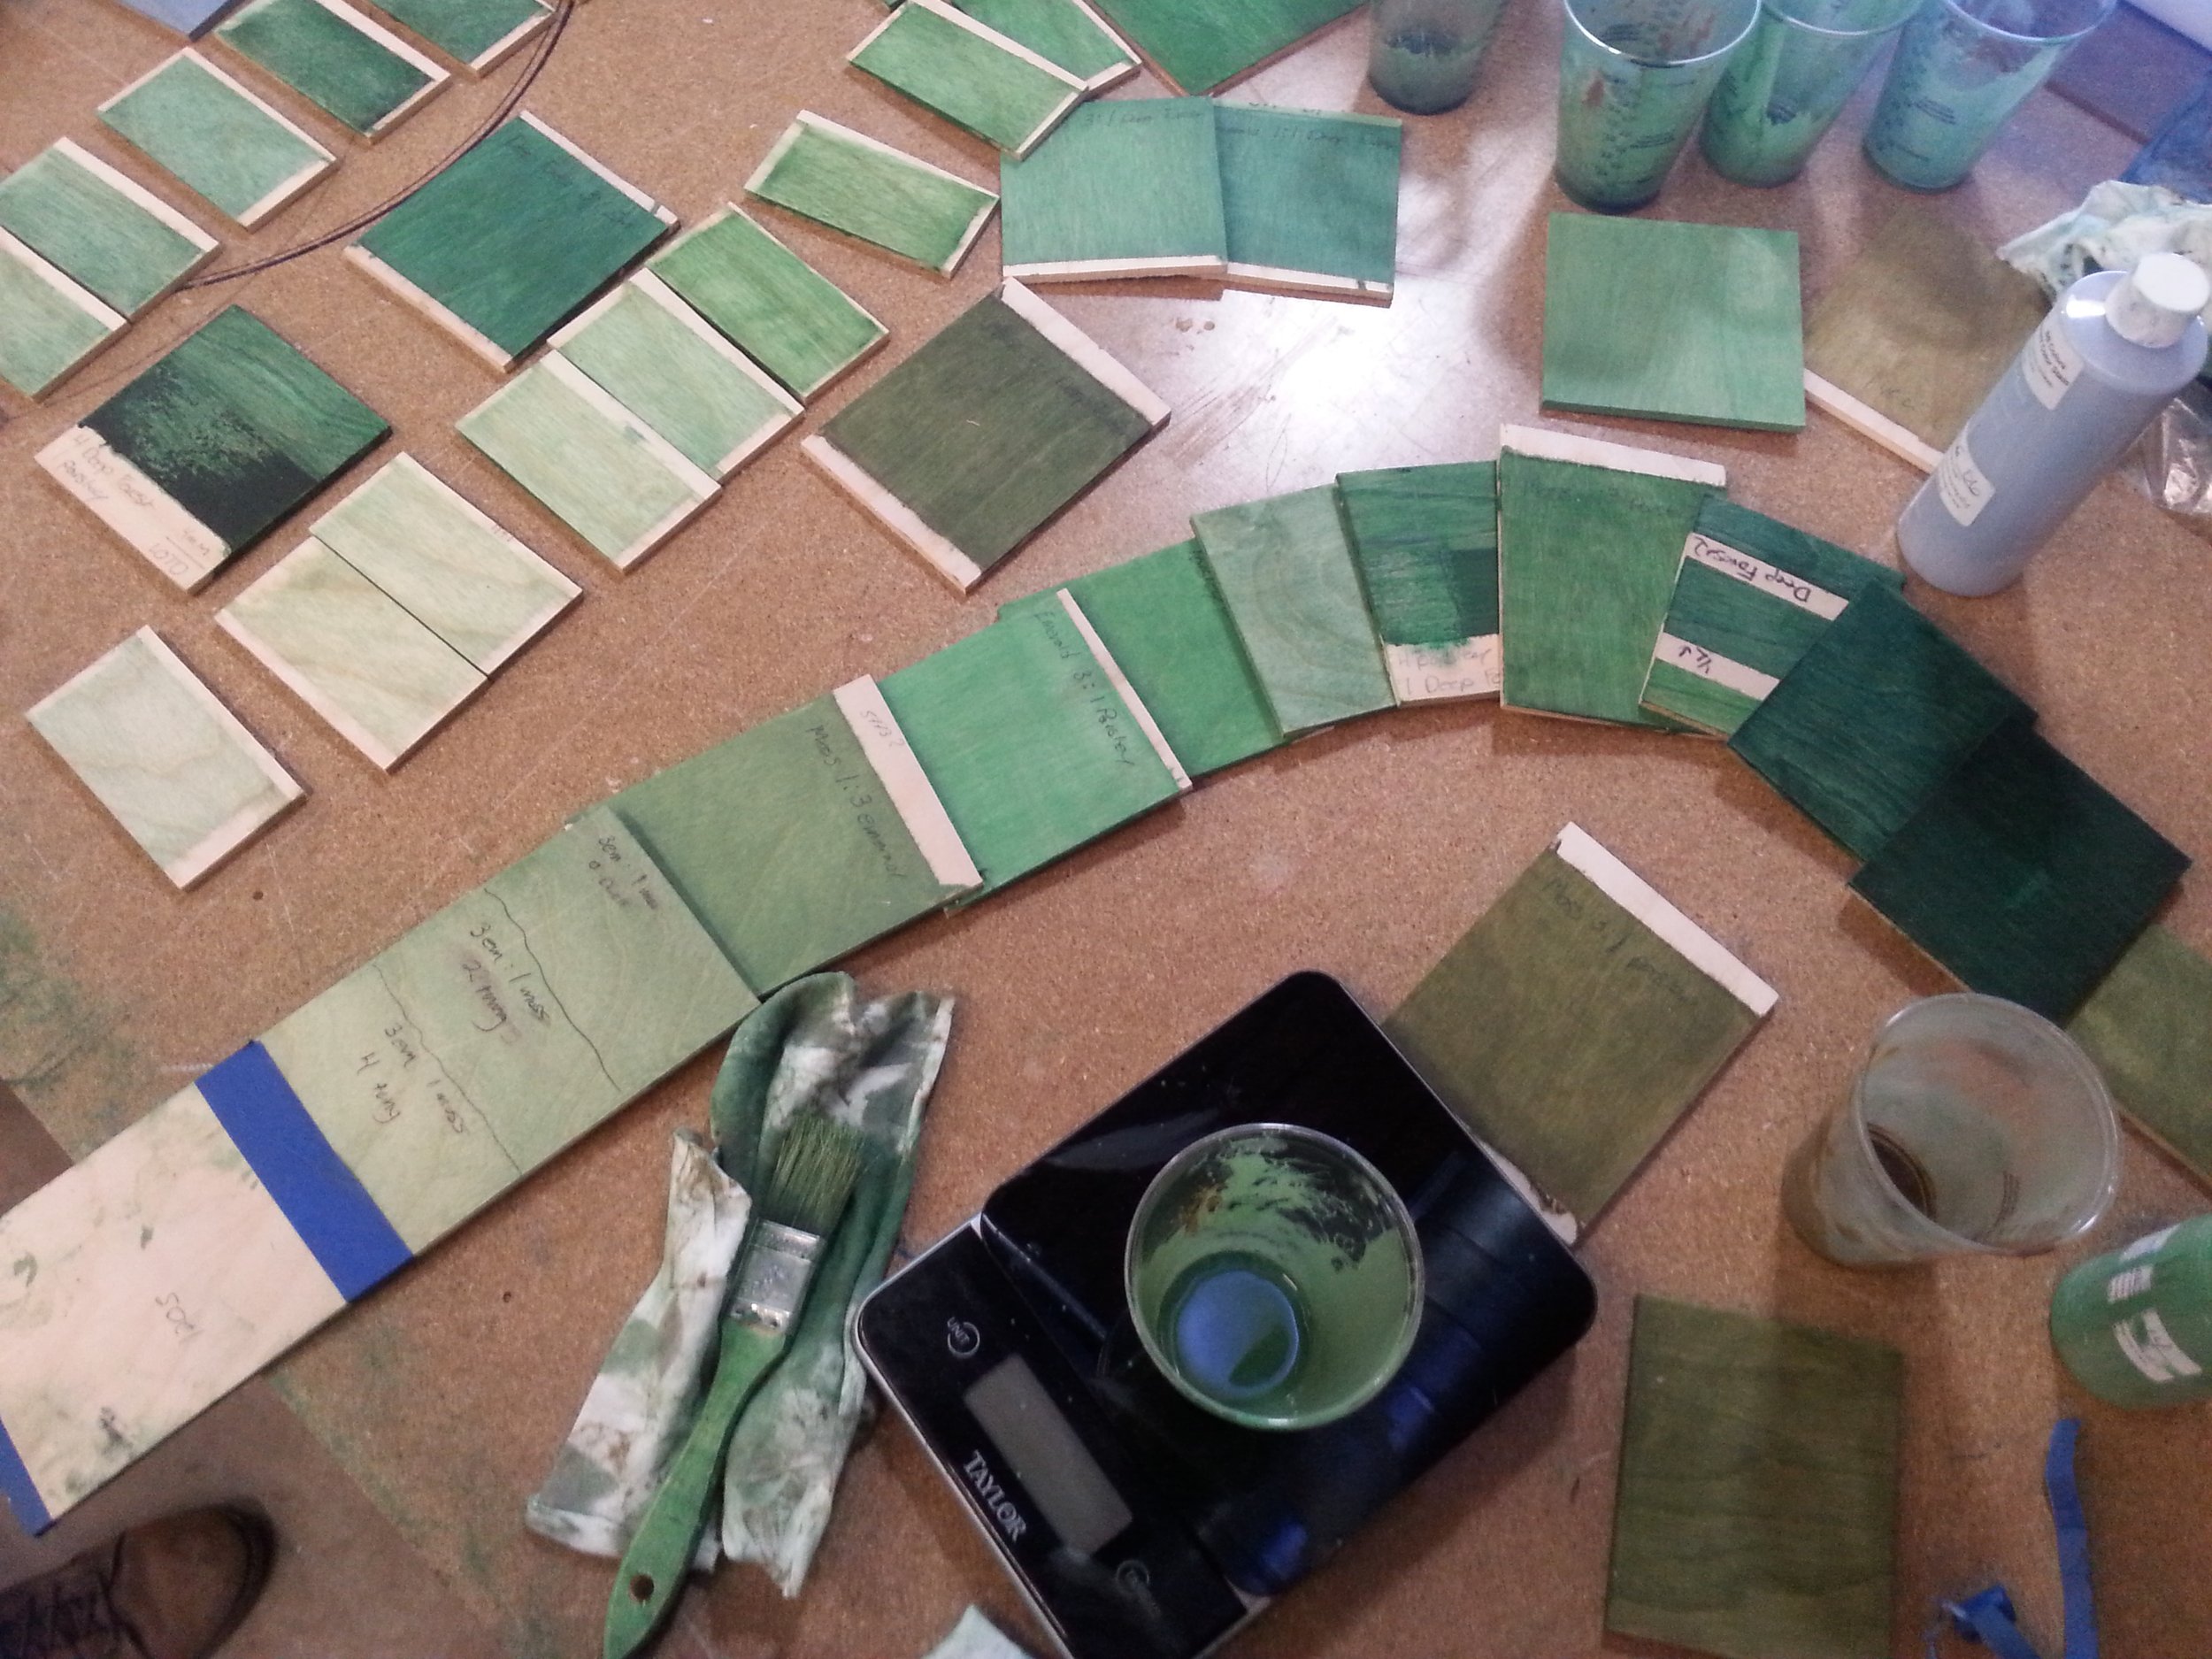
To ensure consistency it was important that once a stain color was mixed it could be applied to all pieces that needed to receive it. Stain can be notoriously finicky about surface prep and underlying wood conditions.
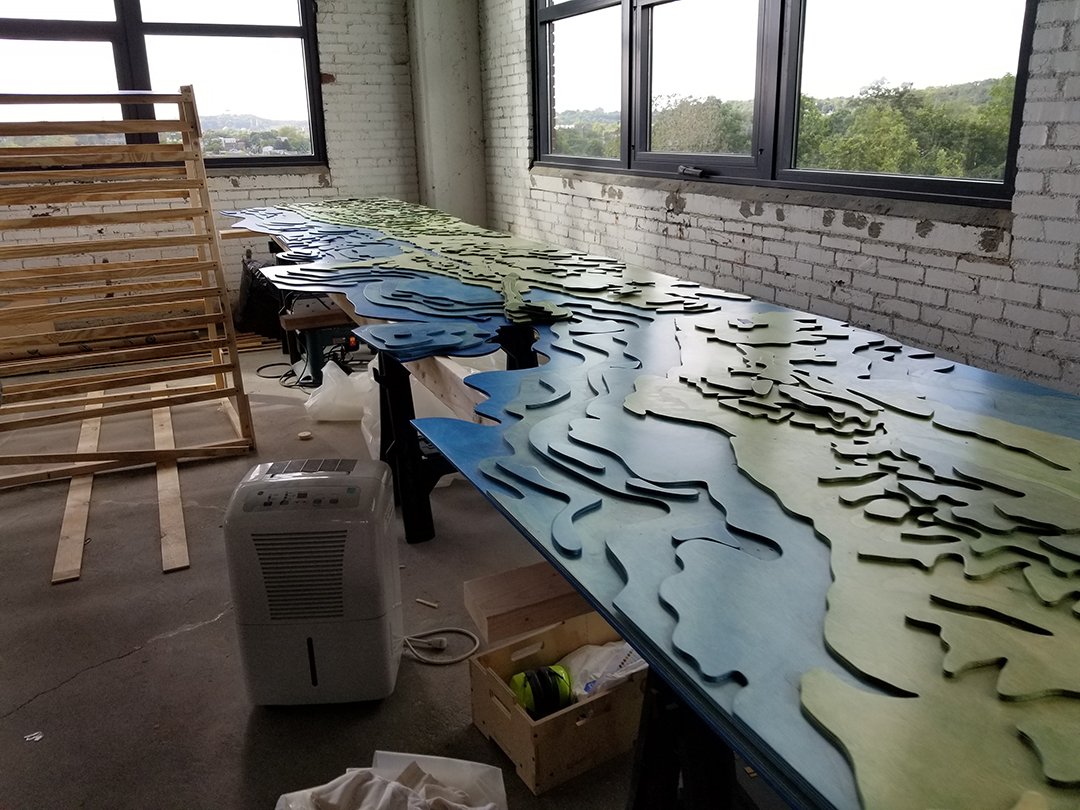
In addition additional considerations were need because this project was going to take many months to complete and was being build inside a warehouse space exposed to summer sunlight. It was important to me that the surface of the wood were exposed to similar amounts of UV to ensure that the surface layers of birch would darken consistently over the course of the project.
The staining process for the artwork involved 5 mixes of green stains to illustrate elevation changes on land. These stains were mixed with different pigment ratios and increasing intensity and saturation as the height of the landmass rises. Additionally there were 3 layers of blue stain showing increasing depth in the areas where ‘water’ was present.
Following the application of stain each piece of the map was finished with multiple coats of polyurethane sprayed via HVLP to accelerate the process. A solid American walnut frame was constructed for the full length of the 30ft artwork and monarch metals ‘z-clips’ were added to the back panels.
Following the conclusion of wood finish work and outer frame construction the pieces were packed up to be shipped to their final installation site in Redwood City California.
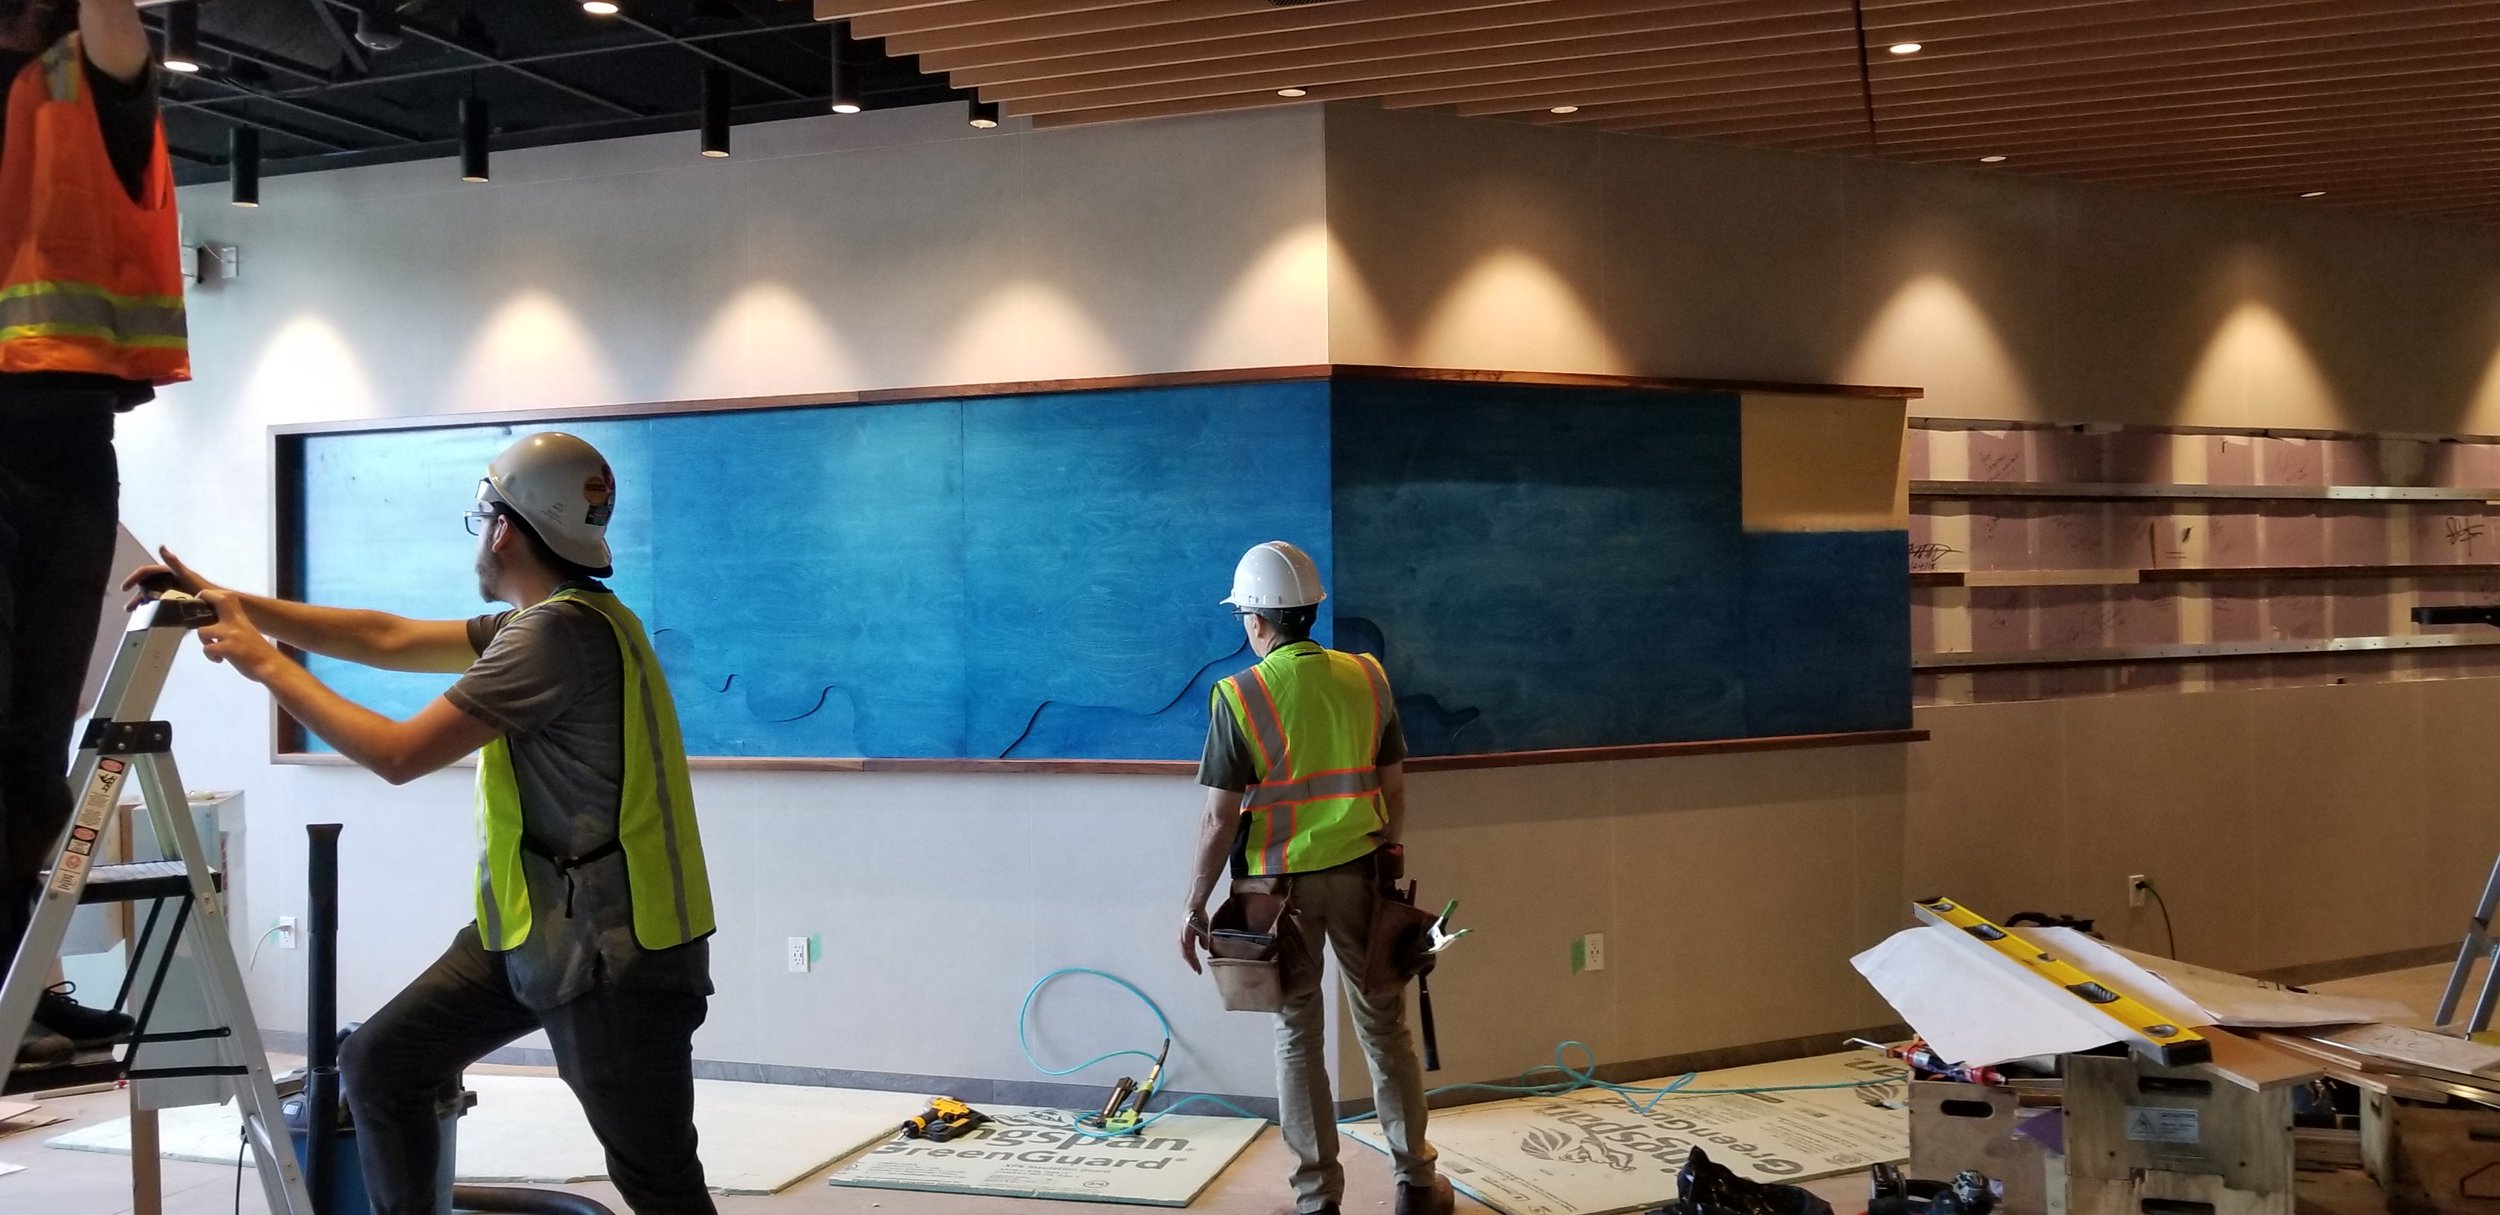
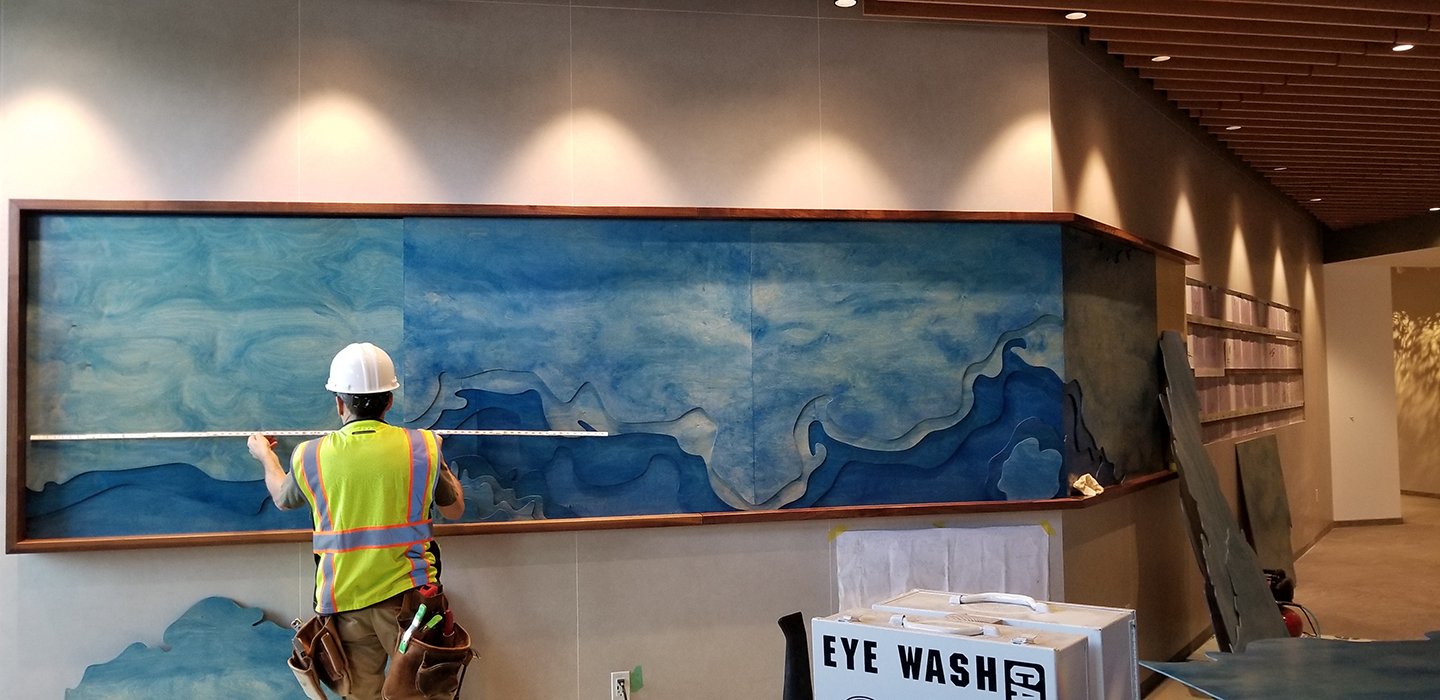
Upon arrival to the worksite we were able to measure the final angle of the wall and trim the center seam of the artwork to the exact miter necessary for it to wrap around the constructed wall.
We were also able to install furring strips and long lengths of metal ‘french cleat’ systems such that the alignment of each piece was seamless and that they were flush to the tile wall.
Once the frames were in place and bolted to the wall the artwork was built up layer by layer with headless pin nails and adhesive. Fasteners were used only in areas that would be covered by successive layers of plywood. Work continued in this fashion until the entire artwork was reassembled into its permanent home.